If you are a developer or power user on a Mac, you probably type your password into the terminal dozens of times a day using sudo. If your Mac has a TouchID sensor, you can save time and keystrokes by configuring your terminal to accept your fingerprint instead of your password.
Here is a quick guide on how to set it up.
Step 1: Edit the Sudo Configuration
The safest way to edit system files is using the command line. Open your terminal and run the following command:
1 | sudo -e /etc/pam.d/sudo |
This will open the configuration file in your default editor (usually Vim or Nano).
Step 2: Add the TouchID Module
You will see a list of authentication rules. You need to add a specific line to the very top of the list, right under the first comment.
Add this line:
1 | auth sufficient pam_tid.so |
Your file should now look something like this:
1 | # sudo: auth account password session |
Save the file and exit the editor.
Step 3: Test It Out
Open a new terminal tab and try running a command like sudo ls. You should immediately see a prompt asking for your TouchID fingerprint.
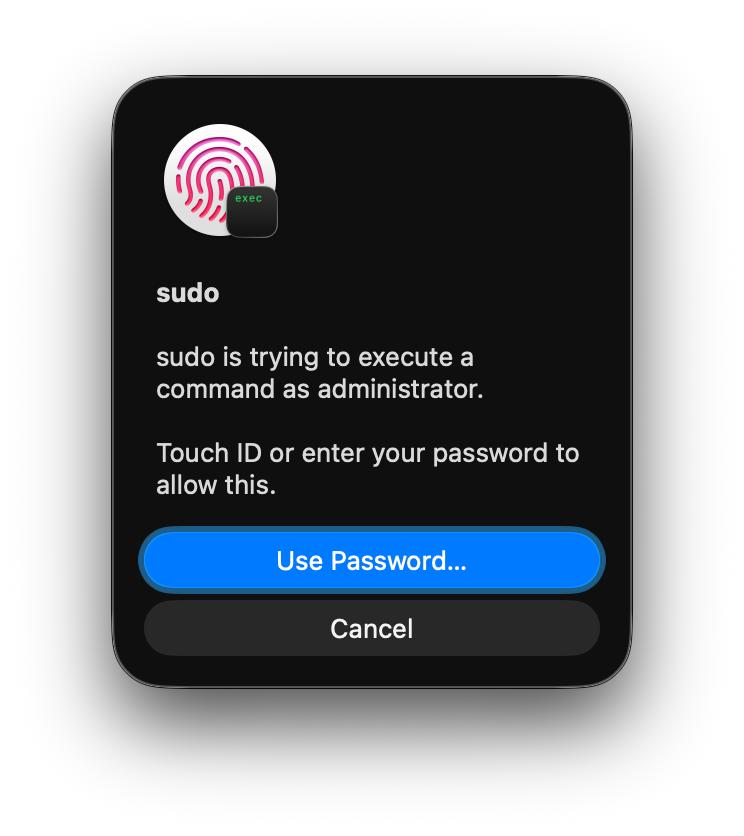
If you hit Cancel, or if you are accessing the machine via SSH, it will simply fall back to asking for your password as usual.
Troubleshooting for iTerm2 Users
If you use the default macOS Terminal app, you are done. However, if you use iTerm2, this feature might not work immediately due to how iTerm handles sessions.
To fix this:
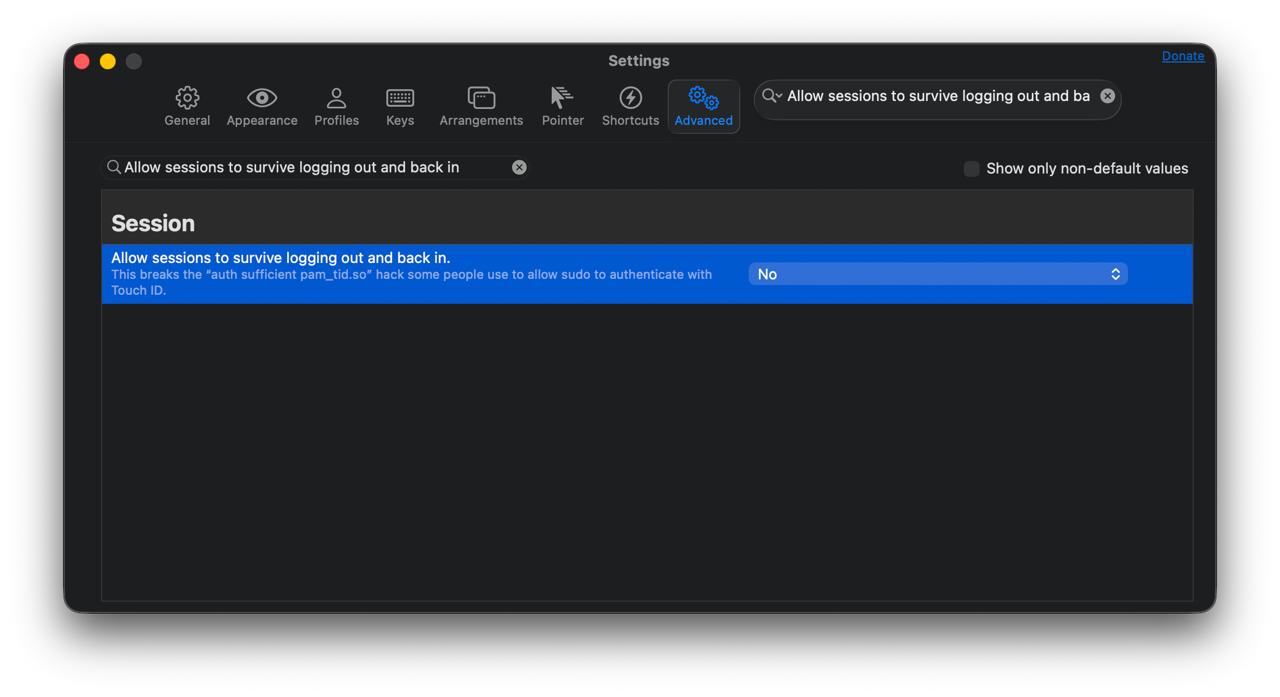
- Open iTerm2 Preferences.
- Go to the Advanced tab.
- Scroll to the Session heading.
- Find “Allow sessions to survive logging out and back in” and set it to No.
Alternatively, you can install the pam_reattach module if you need to keep that specific iTerm feature enabled.
A Note on macOS Updates
Be aware that major macOS system updates often reset the /etc/pam.d/sudo file. If TouchID stops working after you update your Mac, simply follow these steps again to re-add the line.